Inside the DTF conversion
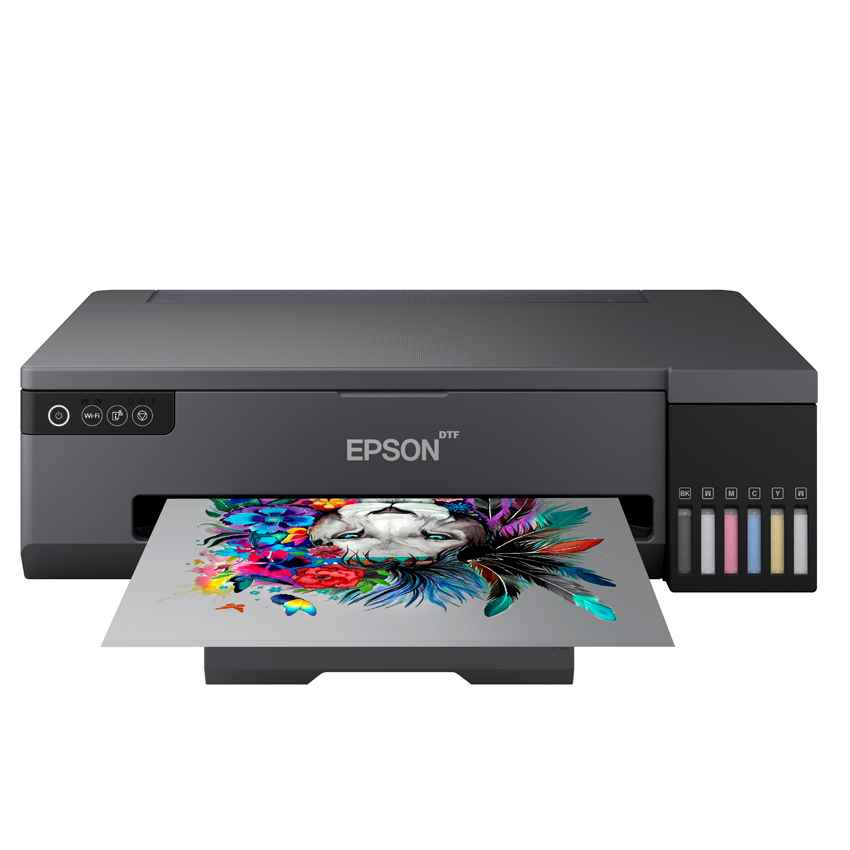
Epson L18050From photo printer to DTF.
What changes inside the printer, which parts do what, and how to prepare it for DTF film and white ink. Start with the hardware. Set up the RIP when the printer is ready.
Conversion chapters
What actually changes?
A DTF conversion changes the film path and ink supply. Here are the parts to understand before opening the printer.
A clear path for the film
The output star-wheel bar can touch the wet print. The guide explains its removal and the checks for a straight film path.
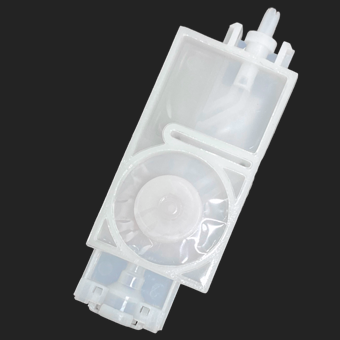
An ink system you can service
Understand the manifold, valve dampers and external bottles before choosing the parts for your white-ink supply.
Sensors and waste ink
Film detection, feed calibration and the maintenance cartridge matter just as much as the visible mechanical changes.
Start with a sheet. Move to a roll when ready.
Before you open the printer
Prepare the workspace and decide which conversion you are building.
- Record the printer’s condition. On a used, filled printer, save a nozzle check before conversion.
- Choose sheet or roll feed and a matching ink-system layout.
- Keep screws grouped by panel. Disconnect power and USB before disassembly.
Good to know before your first print.
Film won't load or feeds crooked
Check film orientation, the edges and the guide spacing. Try one short sheet. If paper senses correctly but film still fails, check the film path and sensors with the installer.
White is weak or missing
Run a nozzle check. If the white channel is missing there, check the white-ink feed first. If it appears in the check, confirm the profile and white layer in the RIP.
Lines across the print
Check the nozzles, the film path and feed consistency. Repeat a small sample and change one setting at a time. Ask for the correct service settings for your build if the lines persist.
BlackBox RIP
Hardware ready? Now set up the RIP.
Install the official Epson driver, check firmware compatibility, then configure BlackBox RIP for your model, ink layout and film feed.
30 days free, with every feature.
$14 / month · $168 USD billed yearly · Pricing
